How to Hang Your Metal Wall Sign – The Ultimate DIY Guide
Share
Adding a metal wall sign to your space is a great way to personalize your home, office, or outdoor area. Whether you’re hanging a coastal-inspired surfboard sign, a custom address plaque, or a nautical-themed metal piece, proper installation ensures stability and longevity.
Understanding Hanging Options for Our Metal Signs
Each of our metal signs has been thoughtfully designed for easy installation. Depending on the design of the sign, you will either find:
✅ Small pre-cut hanging holes – These are added where the design doesn’t already have natural spaces to insert fasteners.
✅ Natural hanging spots – Many of our designs feature built-in openings (such as loops, gaps in lettering, or cutouts) that allow for easy mounting without additional holes.
With this in mind, let’s explore the best ways to hang your metal sign based on your surface type and preferred method.
Step 1: Choose the Right Hanging Method
Depending on your wall type and preferences, you can choose from the following hanging methods:
1️⃣ Screws & Anchors (Recommended for Most Walls)
✔ Best for: Drywall, brick, wood, plaster, concrete, and stucco
✔ Strength: Very strong and secure, ideal for large or heavy signs
What You’ll Need:
- Screws (appropriate for your wall type)
- Wall anchors (for drywall, brick, or concrete)
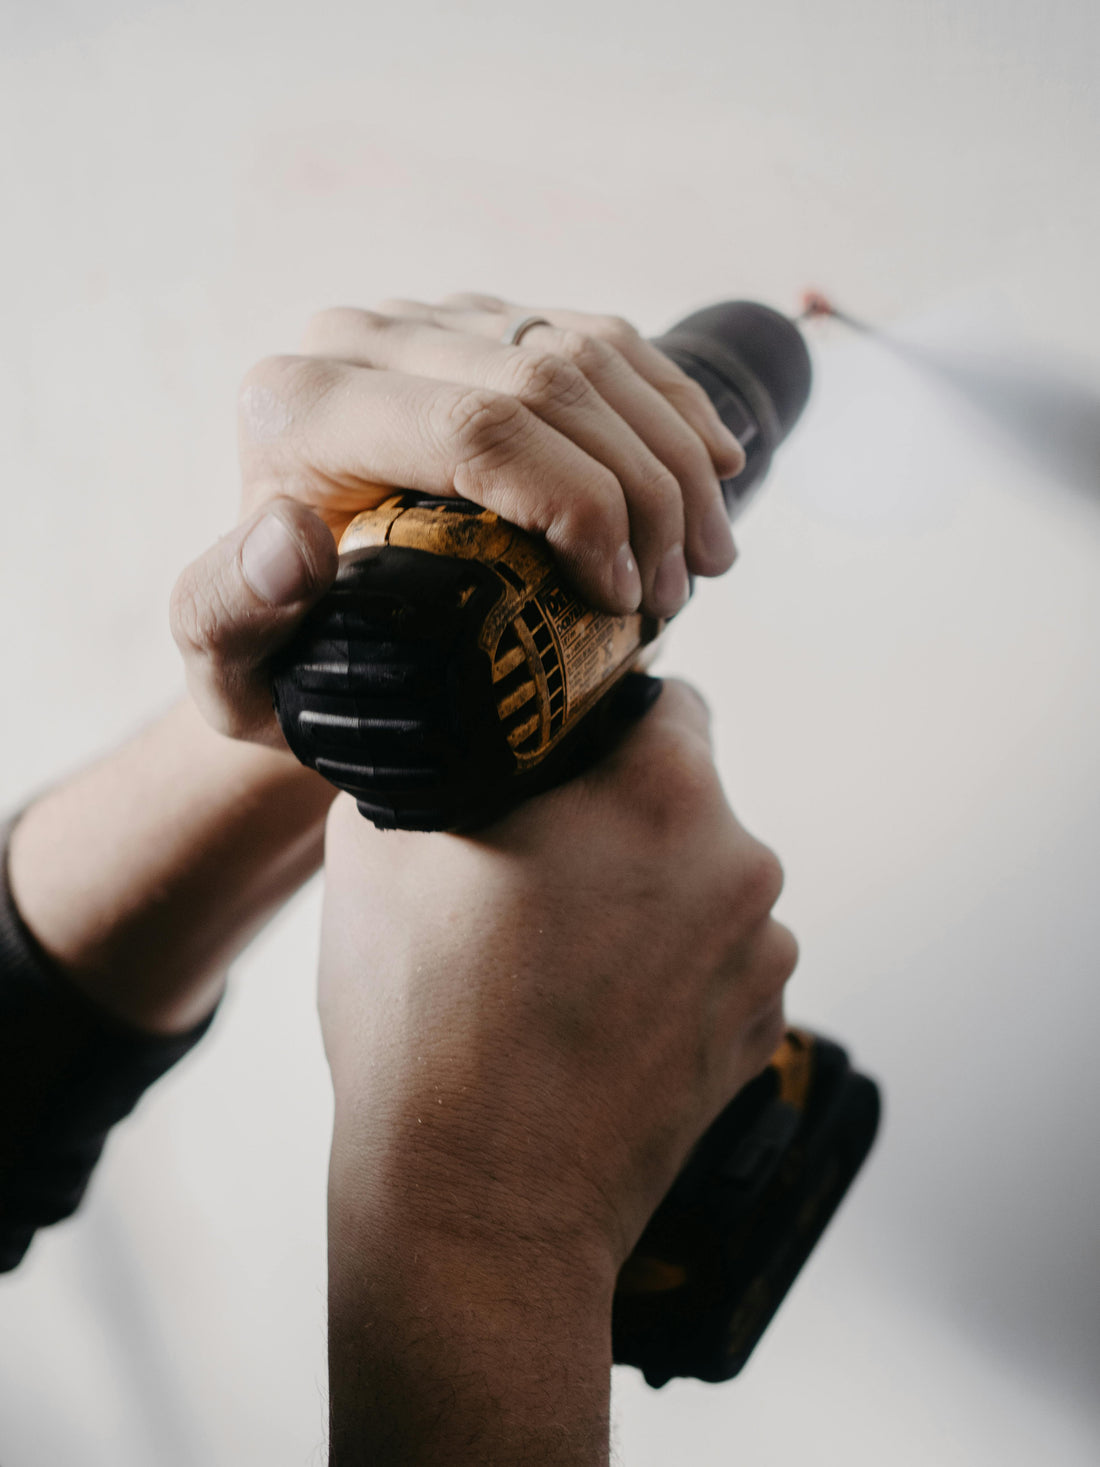
- Drill or screwdriver
- Level (to ensure proper alignment)
How to Install:
- Identify the best hanging points on your sign. If it has designated pre-cut holes, use them. If not, locate a secure interior cutout within the design that can support the sign’s weight.
- Position the sign on the wall and mark the spots for the screws.
- If installing on drywall, insert wall anchors to prevent the screws from pulling out.
- Secure the sign by inserting screws through the pre-cut holes or natural openings.
- Ensure the sign is level and tightly fastened.
Tip: For heavier signs (over 24” wide), consider using washers with screws for extra security.
2️⃣ Hanging with Nails (For Light to Medium-Weight Signs)
✔ Best for: Wood, drywall, and softer surfaces
✔ Strength: Good for small to medium signs, not recommended for large/heavy signs
If your sign has natural hanging points, nails can work as an easy solution. However, screws are more secure, especially for larger signs.
How to Install:
- Position the sign on the wall and mark the hanging points.
- Drive sturdy nails into the wall, leaving enough of the nail exposed to hook into a hole or cutout.
- Adjust the positioning as needed.
3️⃣ Double-Sided Tape or Velcro (No Drilling Required!)
✔ Best for: Smooth surfaces like glass, tile, or mirrors
✔ Strength: Limited – best for smaller, lightweight signs
For those who can’t or don’t want to drill, heavy-duty double-sided tape or Velcro strips offer an alternative.
What You’ll Need:
- Industrial-strength double-sided mounting tape (like 3M VHB)
- Heavy-duty Velcro strips (for repositioning capability)
- Rubbing alcohol (to clean the surface)
How to Install:
- Clean the wall and the back of the sign with rubbing alcohol for better adhesion.
- Cut multiple strips of tape or Velcro and place them evenly along the back of the sign.
- Press firmly against the wall for at least 30 seconds.
- Allow the adhesive to cure for 24 hours before testing.
⚠ Important: This method may not support larger/heavier signs.
4️⃣ Hanging with Chains or Wire (For a Suspended Look)
✔ Best for: Outdoor hanging, porches, fences, or ceilings
✔ Strength: Very secure, great for hanging from hooks or posts
If you’d like to suspend your metal sign from a beam, ceiling, or post, you can use chains or picture-hanging wire attached through the mounting holes.
What You’ll Need:
- Metal chain or wire (weight-rated)
- Ceiling hooks or S-hooks
- Drill and anchors (if attaching to a solid surface)
How to Install:
- Attach hooks or eye bolts to the surface where the sign will hang.
- Thread a metal chain or wire through the pre-cut holes or a natural cutout in the design.
- Secure the chain/wire to the hooks, adjusting the length as needed.
Step 2: Choosing the Right Placement
Once you’ve picked your hanging method, follow these pro tips to ensure perfect placement:
✅ Eye-Level Positioning: For most walls, place the sign at eye level (about 57”-60” from the floor).
✅ Centered on Furniture: If placing above a couch, bed, or console table, center it with 4-8” of space above the furniture.
✅ Outdoor Placement Considerations: If exposed to wind, consider extra reinforcement like washers with screws.
In summary, for most cases, screws and anchors provide the best balance of security and ease of installation. However, if drilling isn't an option, heavy-duty Velcro or double-sided tape can work for smaller signs.
Looking for a stunning metal wall sign to elevate your space? Check out our latest collection of coastal, customizable, and city-themed designs!
